
So the next morning I got up extra early so I could make it to the D.I. right when they opened their doors.
Um, did I just say that?
Yes. I. Did. There's no shame in being a D.I. lover --- just ask my sister Heidi --- she has been a shameless D.I. addict for quite a few years now (although, the other day when a lady asked where she got her cute capris, Heidi
I will admit that I have now gotten up early not once, but twice, in order to get first dibs at the DI --- that place may very well become my new favorite place to shop :)
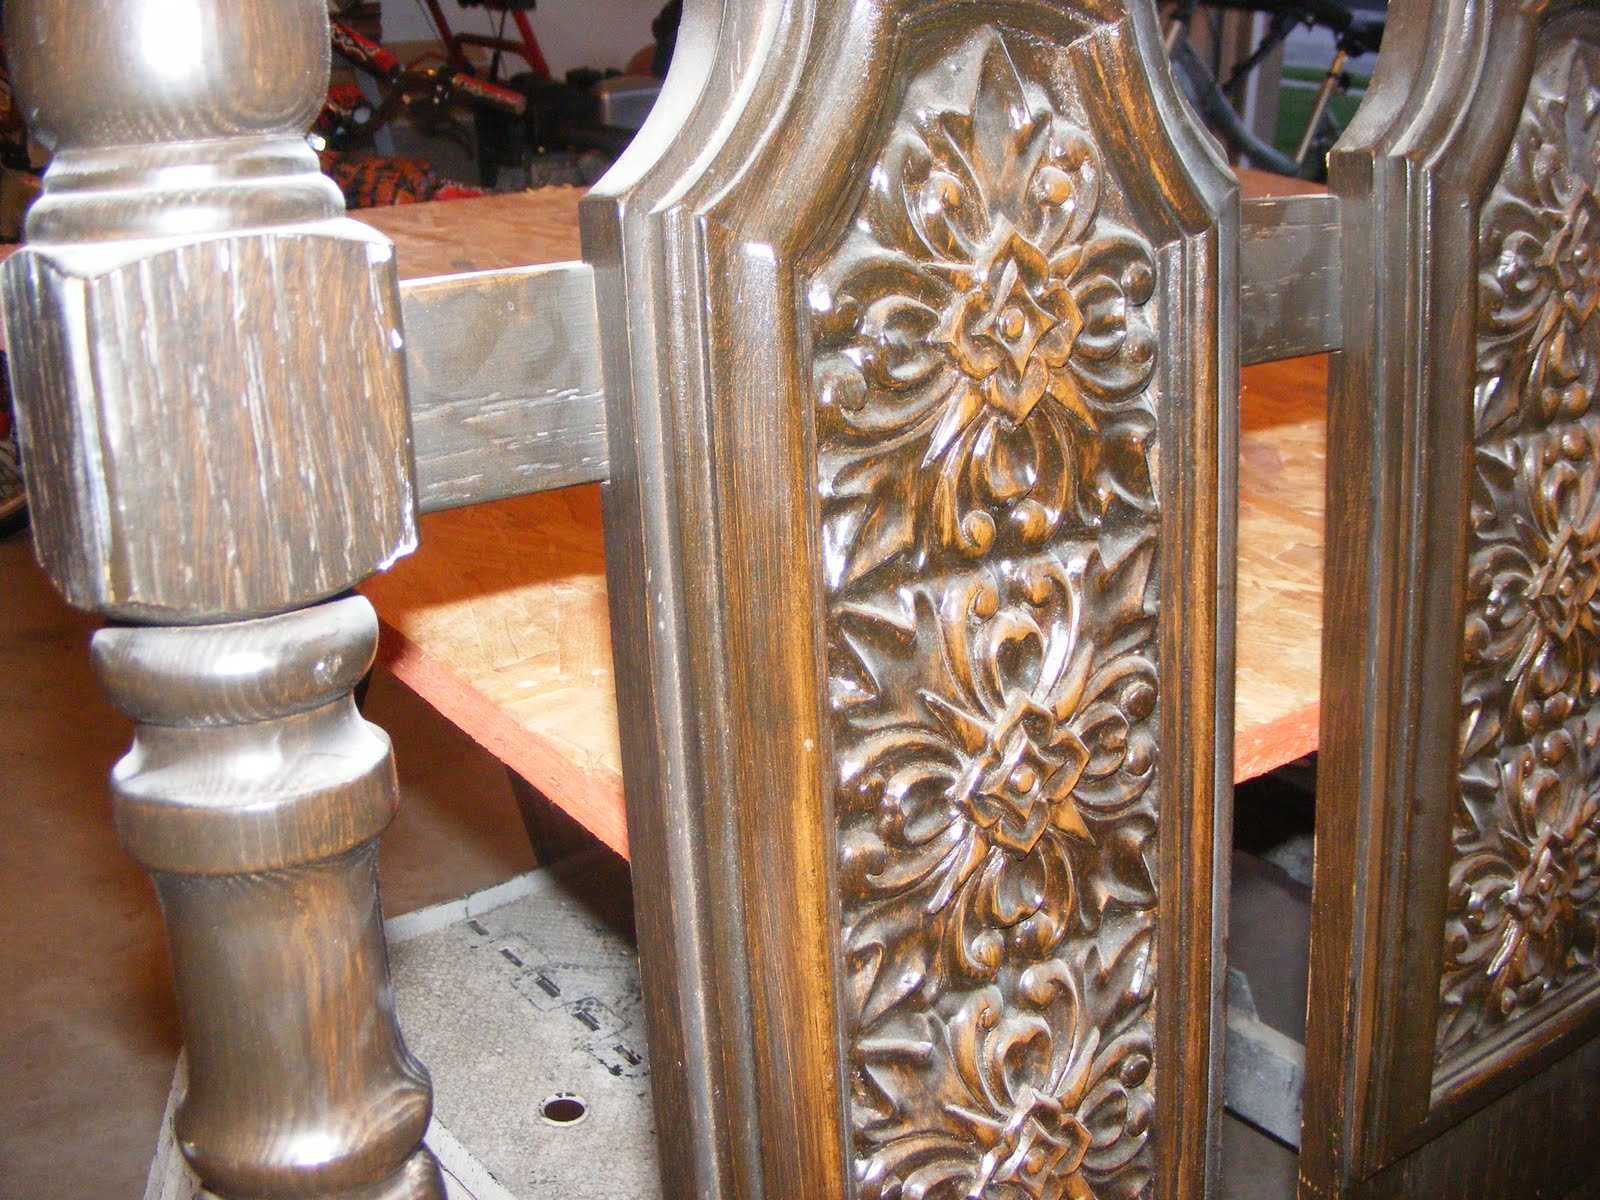
Imagine my delight when I found these three beauties!


Now, I know you're probably thinking "UUUGGGHHHH!" They're hideous, right?
But I knew they had great hidden potential, and I was really excited to try out the glazing techniques that I had read about. So I brought the bad boys home and gave them a major facelift!
I started by giving them a good cleaning --- which is the worst part in my opinion --- I hate cleaning up other people's stuff! Yes, I do it every day (kids, kids friends, hubby) but to clean up after a total stranger --- to actually have to wipe mysterious hairs out of drawers, can you say EEEEWWWWWW! seriously.
But once you've got them all spic and span, that's when the fun starts. The first thing I did was give them a good coat of primer. I've learned from my own experience and from the advice of Brooke at A.T.T. that starting with a good quality primer is a must. I've painted other large projects before without priming first, and it takes twice as long because you have to do twice as many coats of paint. Save yourself a headache and prime first.
Next, I spray painted them. Whooo Hoooo for spray paint! I can't believe it's actually taken me this many years to figure out how much easier it is to use a spray can instead of a dang paint brush.
A couple of years ago, I painted this entire thing using a four inch foam brush....it took for-e-ver!

It does cost a little more to buy spray paint than it would just to buy a can of paint, but it's soooo much faster, and we all know that "time is money" right? Right.
After painting, I put on a thin coat of glaze, this time using a paintbrush. On my first attempt, I used a brown tinted glaze. I had the hutch completely finished when I started thinking I wasn't loving it.
I don't know what it was, maybe the brown on white just made it look dirty or something, but I played around a little bit with different colors and decided that I liked the look of the black glaze better.
Sooooo, I started over.
And although I'm sure my glazing technique will improve after practice, I have to say that I really do l.o.v.e. the finished look. A little shabby with a little chic --- perfect!
The furniture cost me a total of $32, and I probably spent about $40 on the primer, paint, glaze and polyurethane. And I spent about 5 hours working on them (including my re-do).
Here are the before and after pictures side by side:

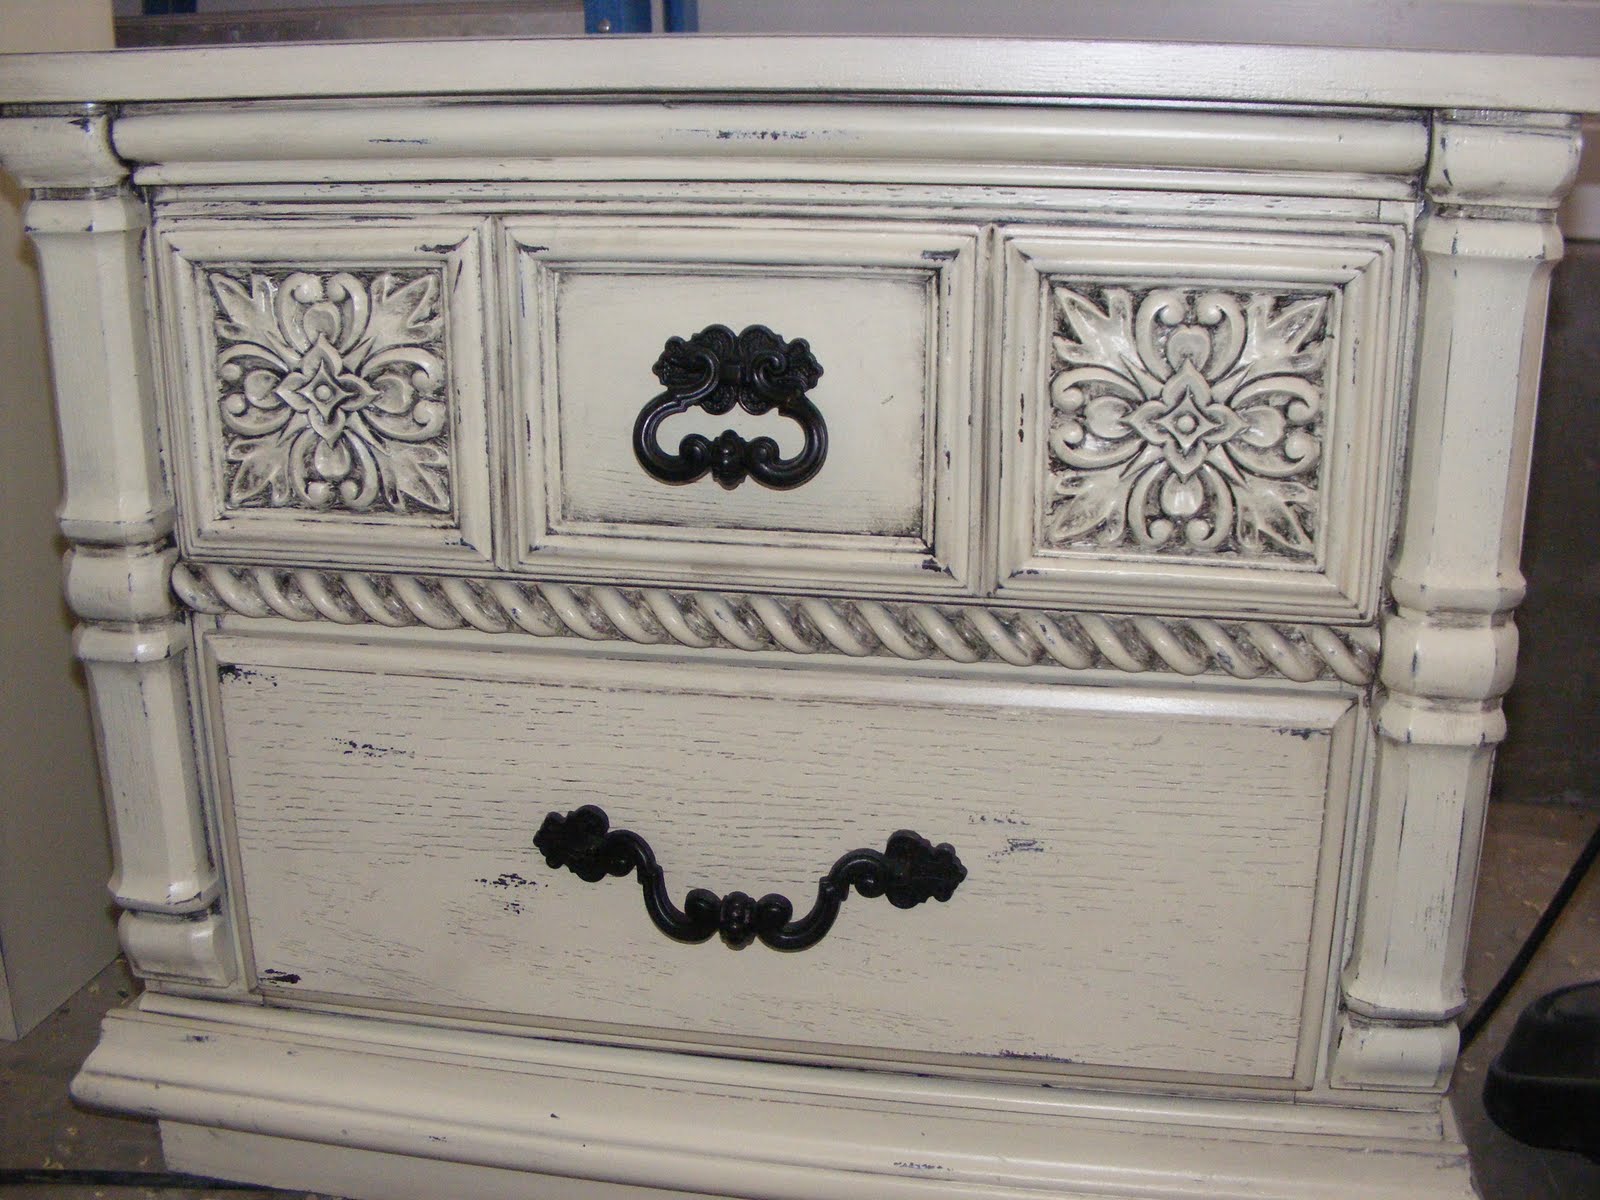


Pretty amazing what a little paint can do isn't it. I'm sorta proud of myself. *patting self on the back* :)
Let me know what you think.

3 comments:
Wow! The details on those pieces are beautiful, you really brought them out! You should be proud of yourself, you did a great job (and I know how much work that is!).
Thanks for sharing in our first Fresh Coat Friday!!
Holly
I LOVE LOVE LOVE IT!! You did such an amazing job. It looks great.
Thanks, you're sweet!
Post a Comment